Grinch Cookies
2 3/4 c All-Purpose Flour
1 tsp Baking Soda
1/2 tsp Baking Powder
1 c Butter, Softened
1 1/2 c Sugar
1 Egg
1 tsp Vanilla
2 tsp Peppermint Extract
1 bag Andes Mint Chips
Enough green food coloring to get the color you want
Powdered Sugar to roll in
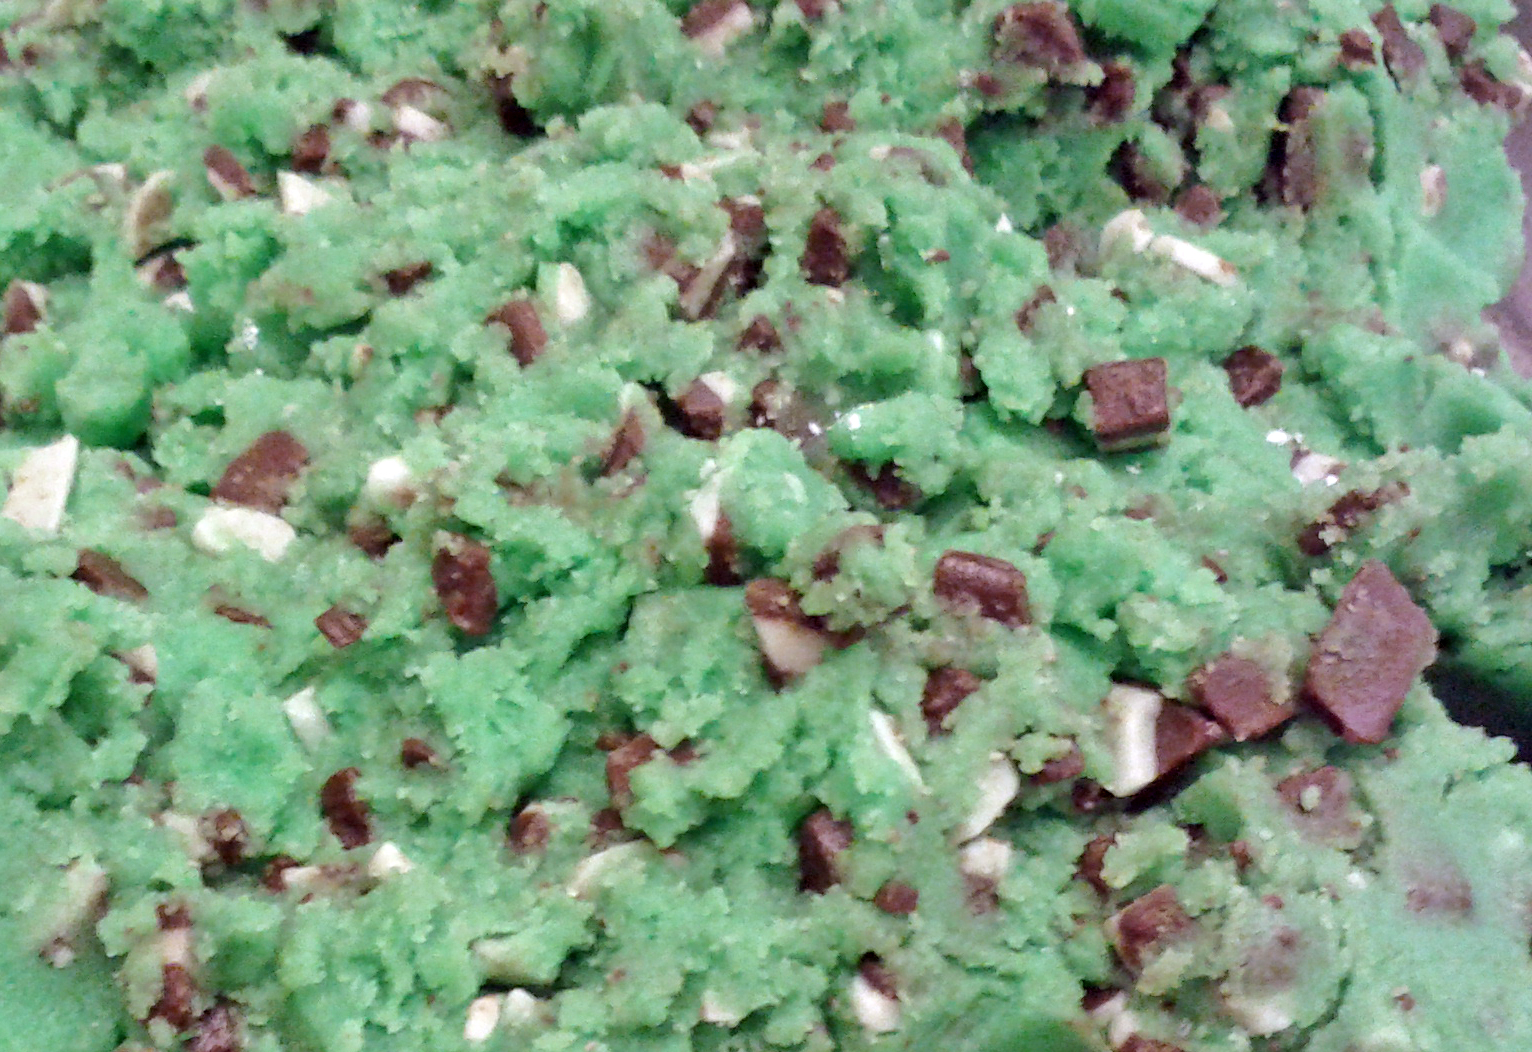
Preheat the oven to 375 F. Mix flour, baking soda and baking powder together and set aside. Cream butter and sugar together until smooth. Add in egg, vanilla and peppermint and mix well. Add in the dry ingredients a bit at a time, I did mine in 3 sections. Mix well after each addition. We ended up donning gloves to mix up the rest of the dough. We also added the food coloring at this time because I was using my Wilton icing colors and it was easier to mix well with my hands. After the dough was the color we wanted that's when we added the chips and mixed them thoroughly. Here's how ours looked -
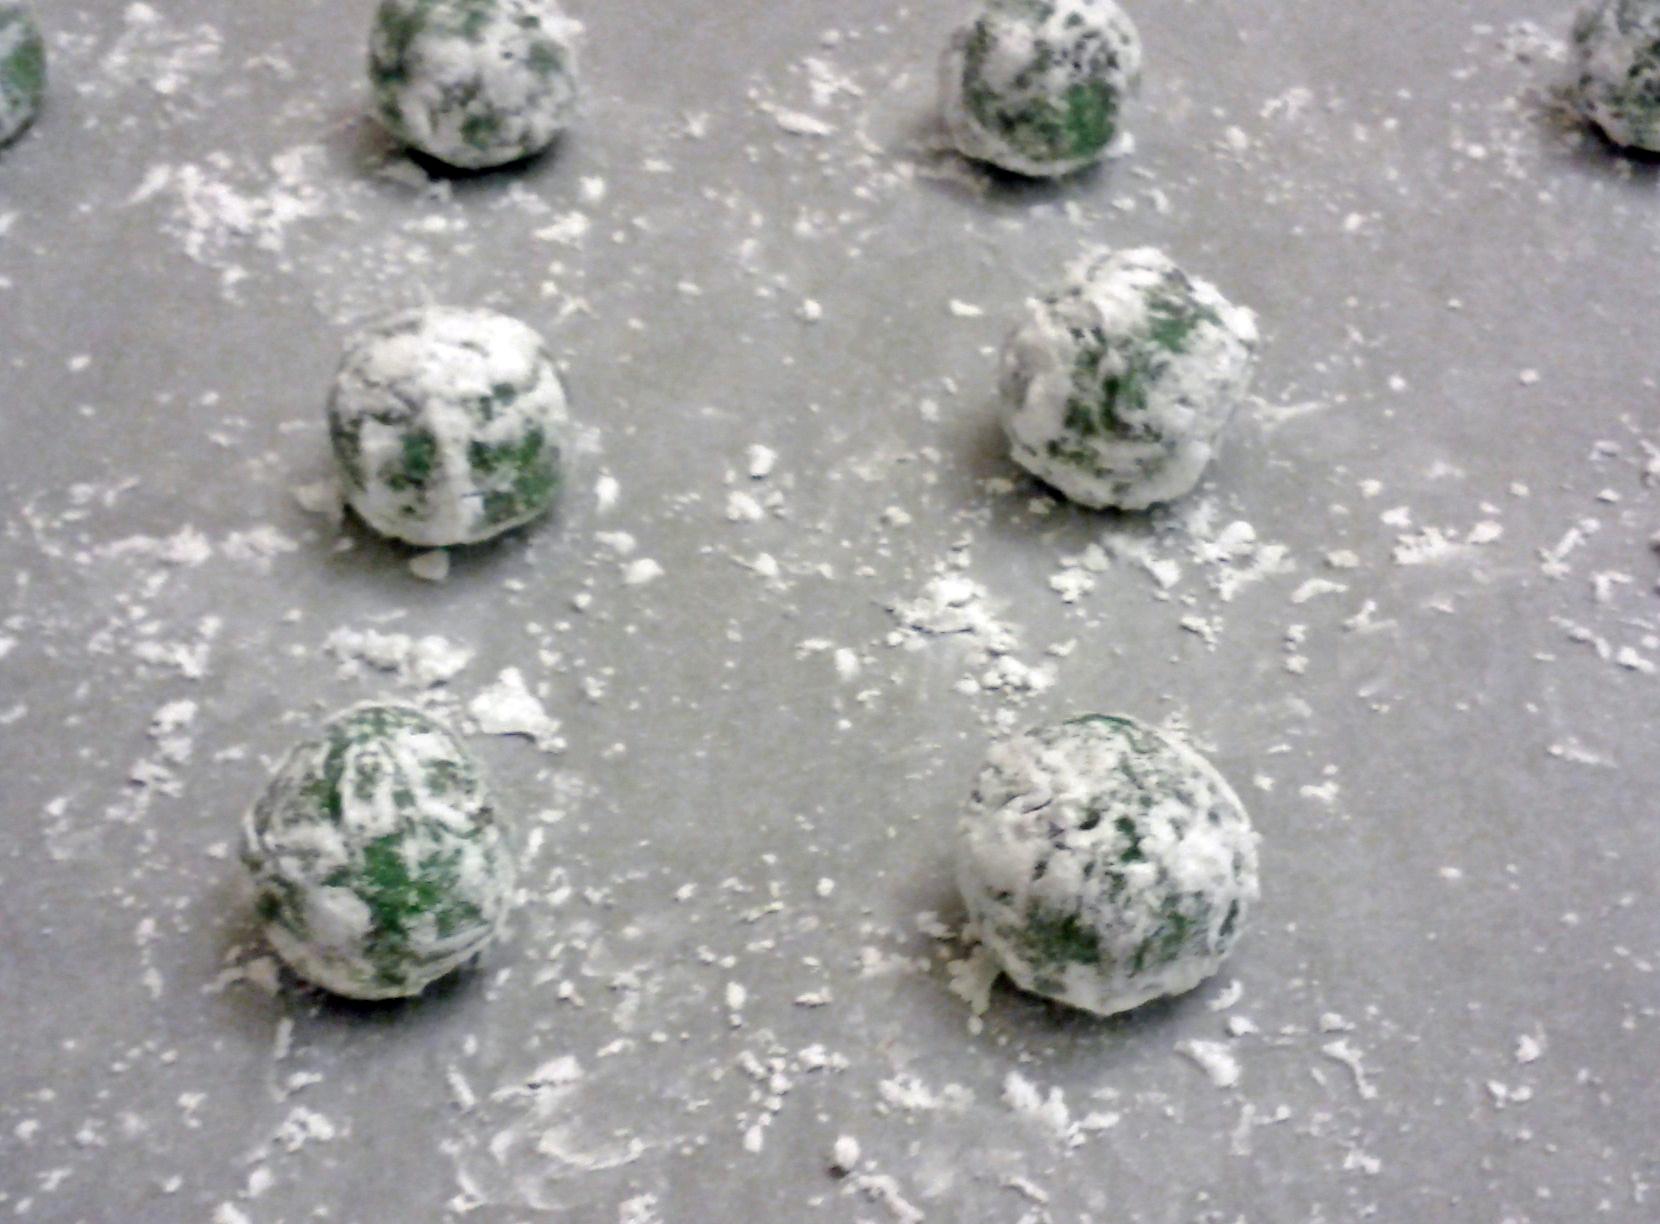
Pour your powdered sugar in a bowl and begin to roll the dough into rounded tablespoons. Roll each dough ball in the powdered sugar until well coated and place on a cookie sheet about 1 1/2 to 2 inches apart.
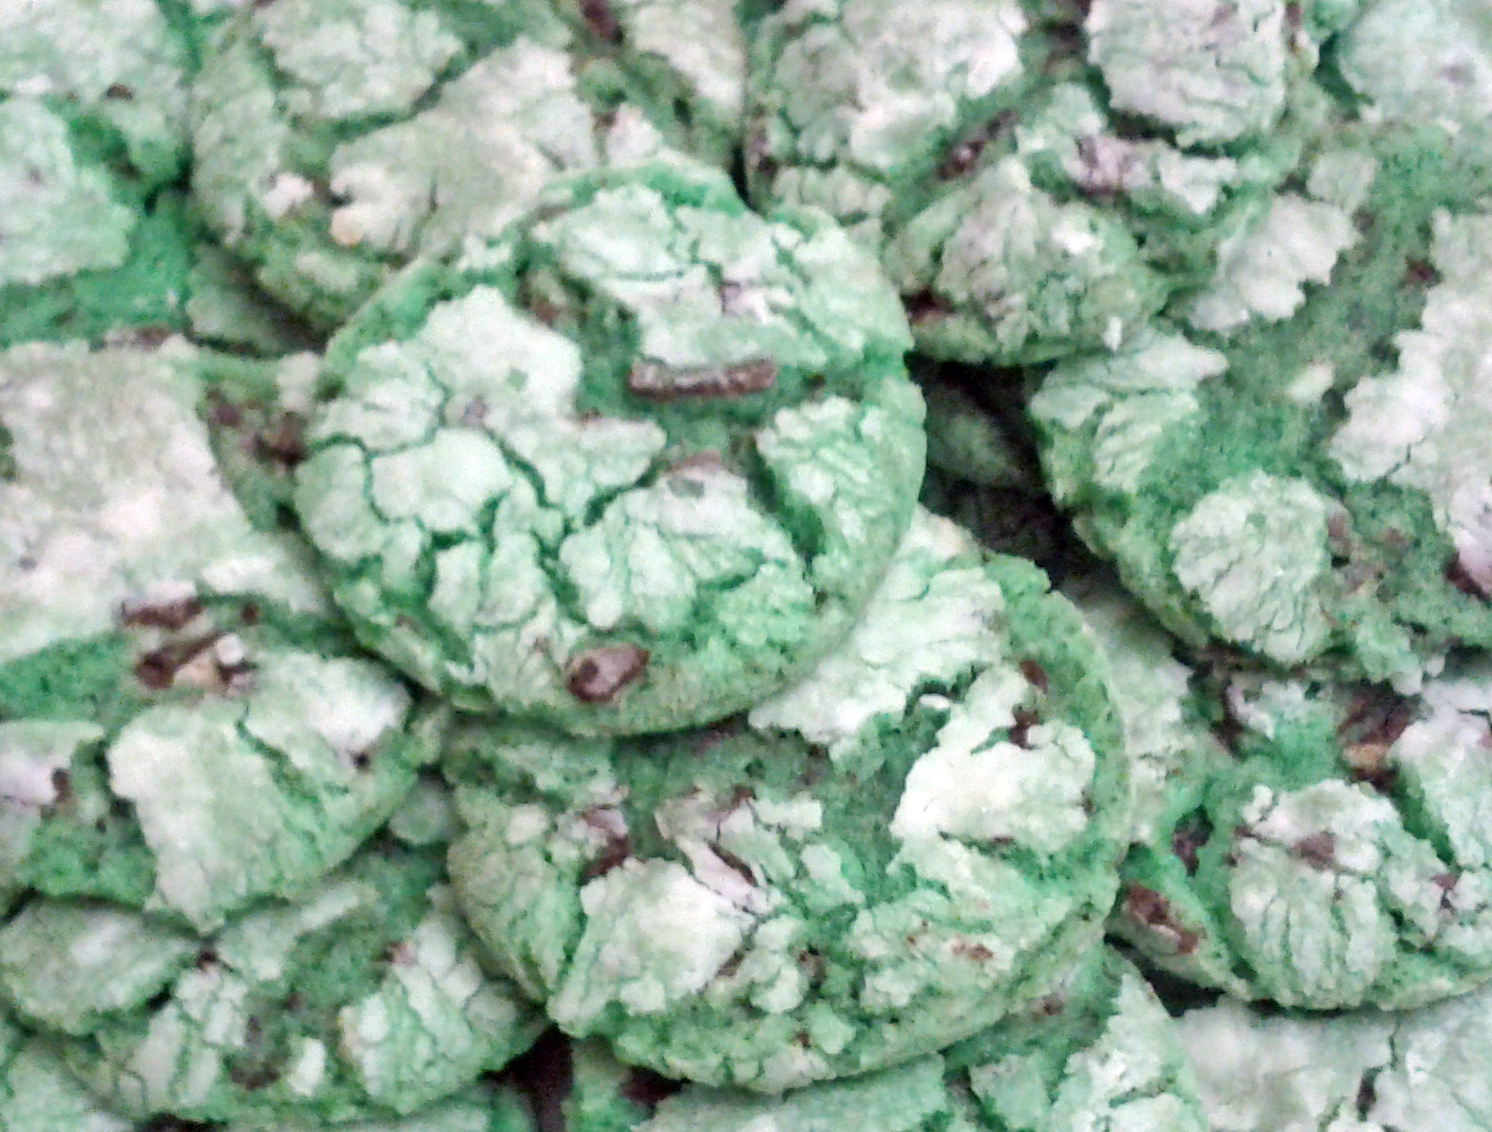
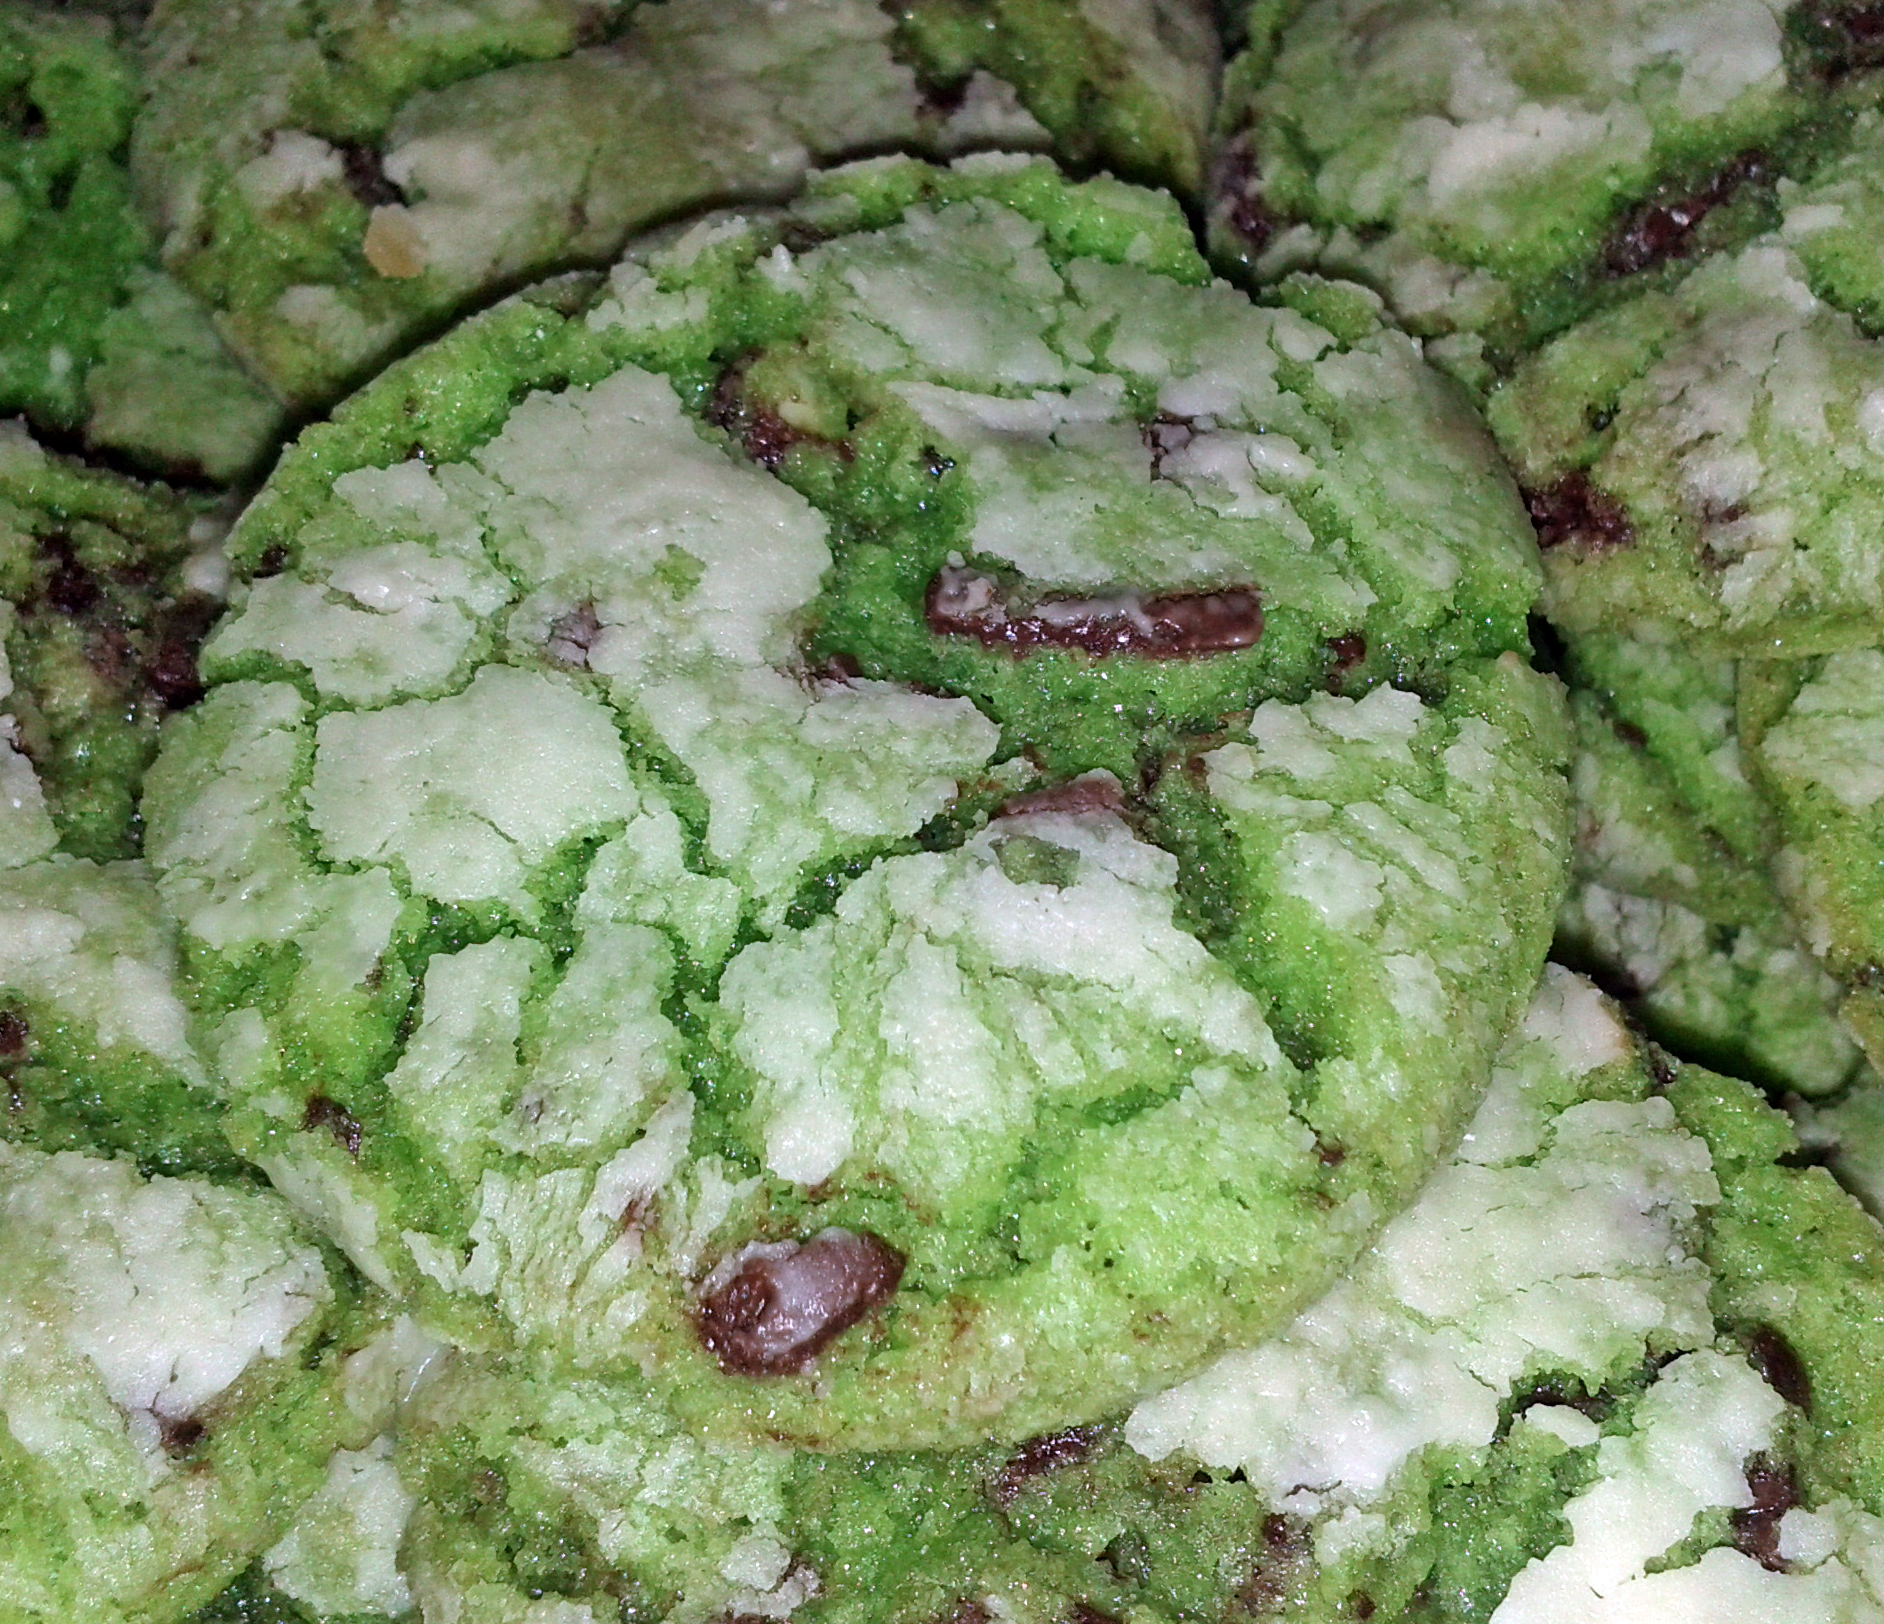
Bake for 8-10 minutes, I found about 9 was good. Cool on your cookie sheet for approximately 2 minutes, then move to wire cooling rack. The powdered sugar gives the cookie a nice crisp, while giving it that sort of snowy look. Well, that's what I think anyway. Here's how they looked once we were done, I managed a picture with and one without flash.
These were really really good. I don't even want to think of how many I've already eaten. Not to mention, they're just fun. Fun to make and fun to look at. I think food should always be like that, lighthearted and playful. There was another treat I made for Thanksgiving that's pretty similar and just as dangerous. It's Oreo Fudge. The recipe is from Buyer Beware - Mother Running on Empty and I did it pretty much exactly as she says to. I might tweak it next time, but it really doesn't need anything else.
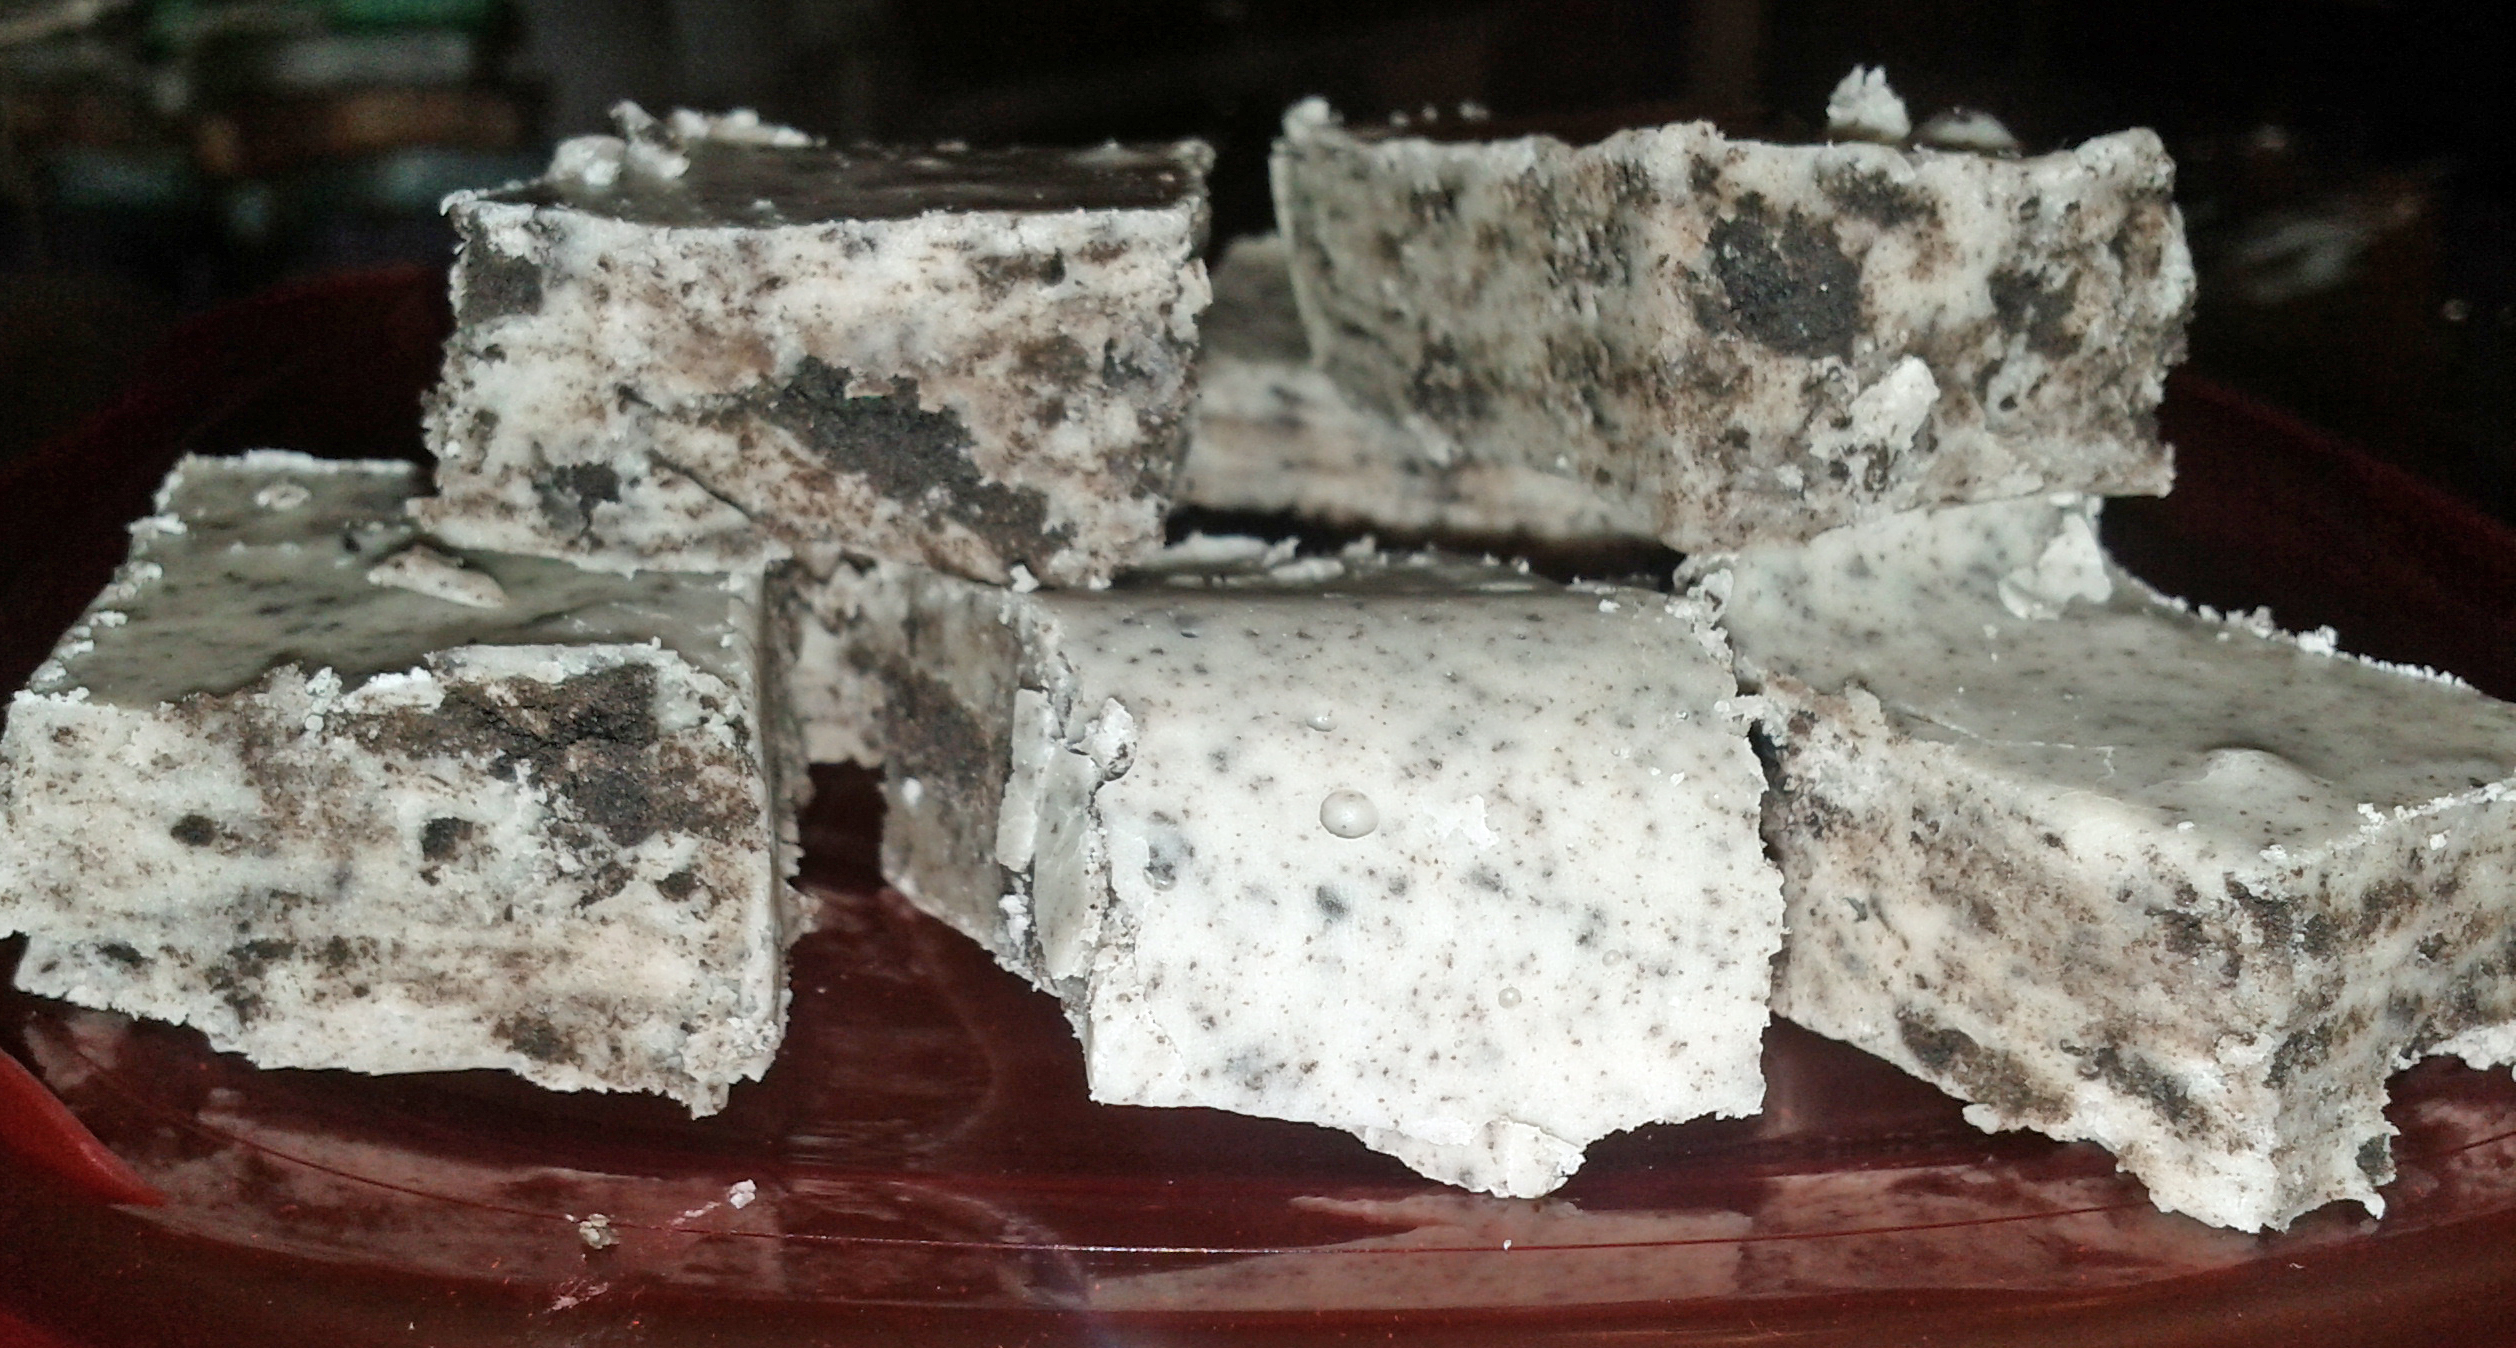

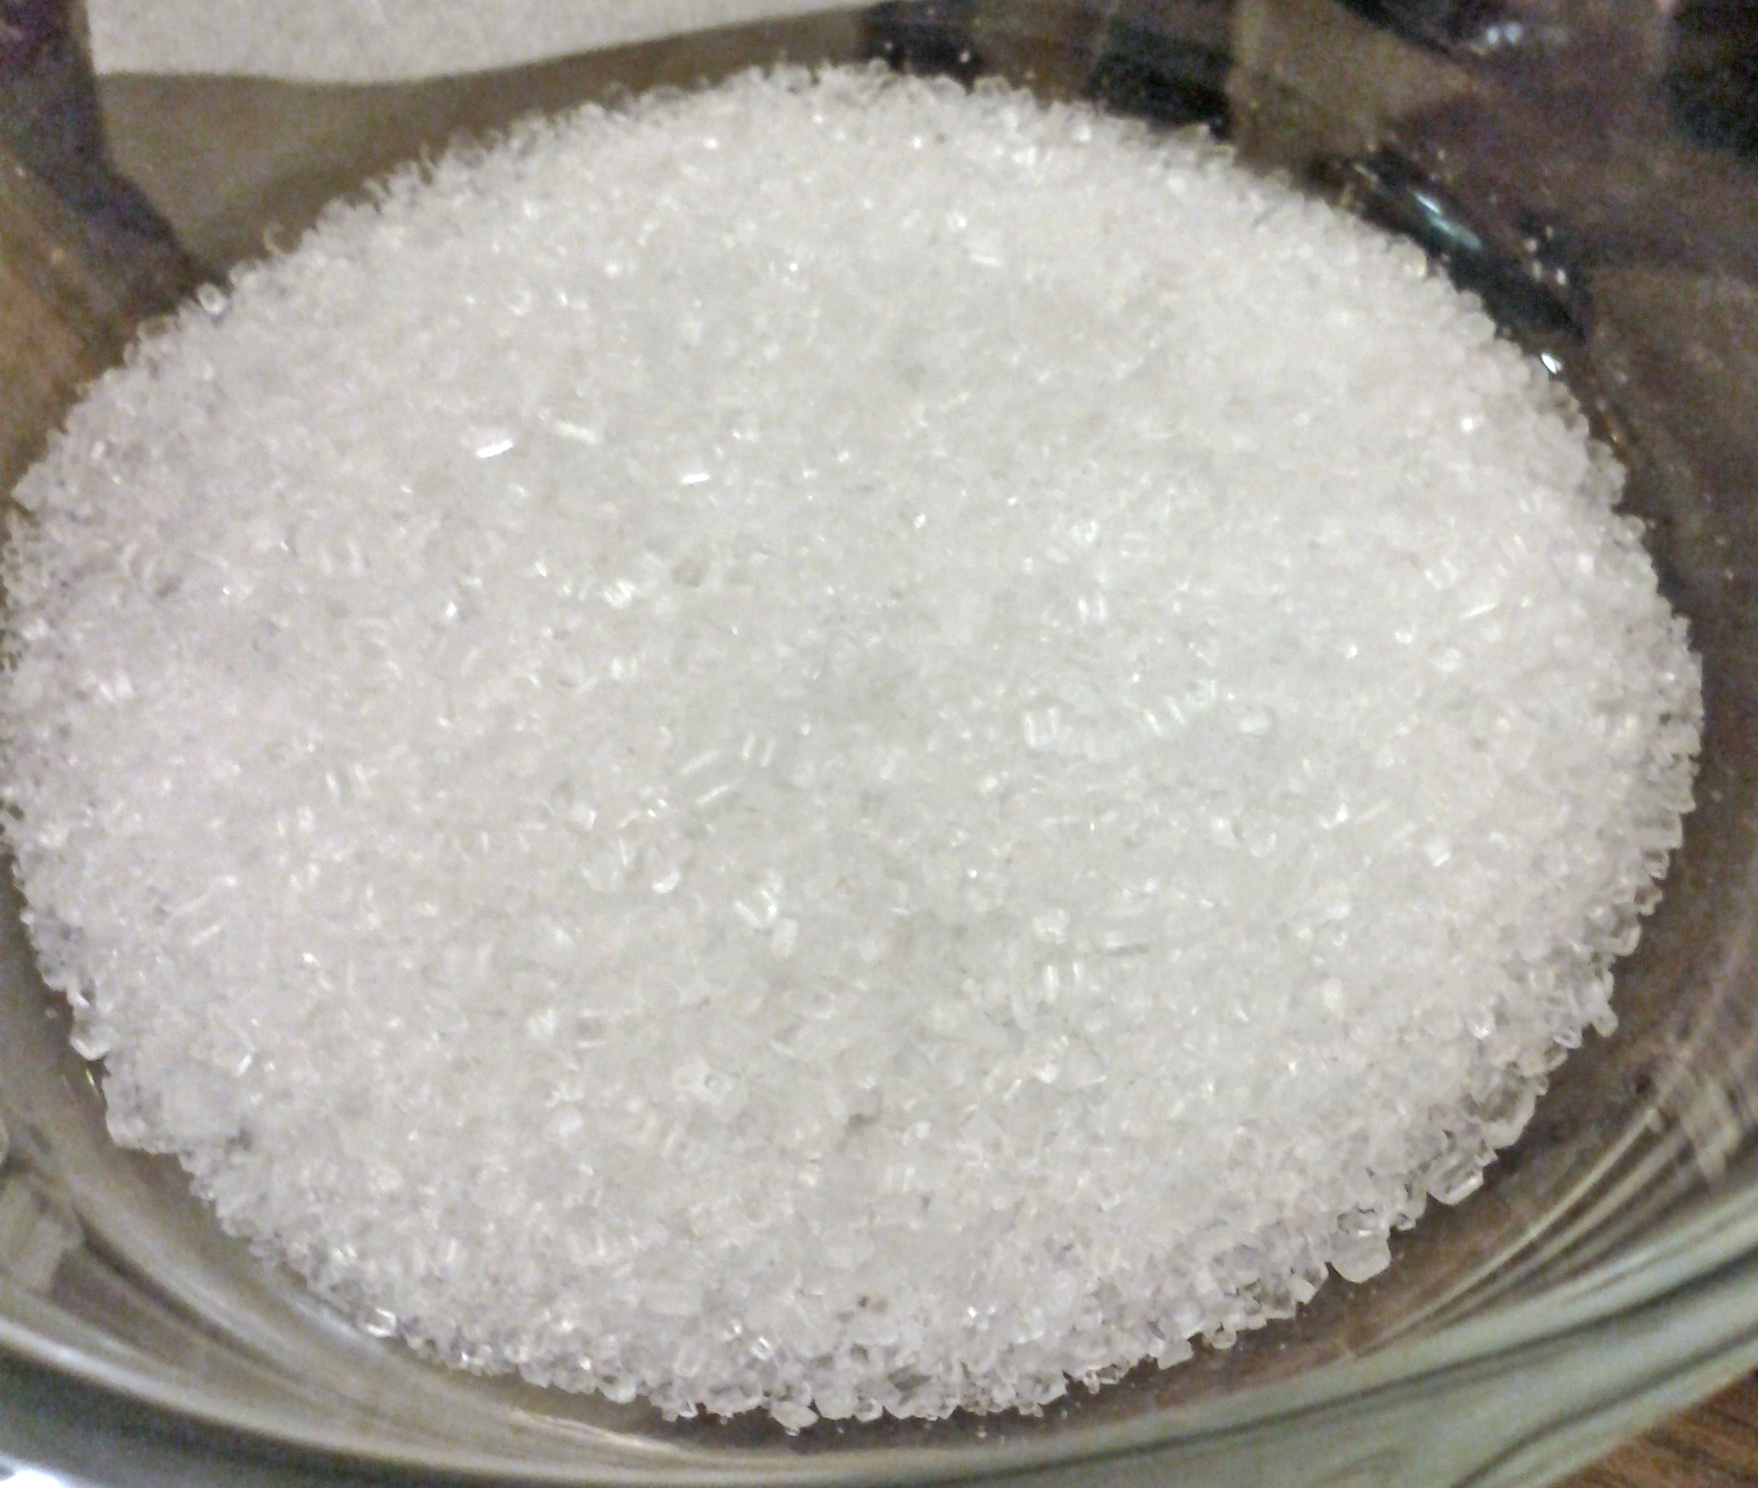
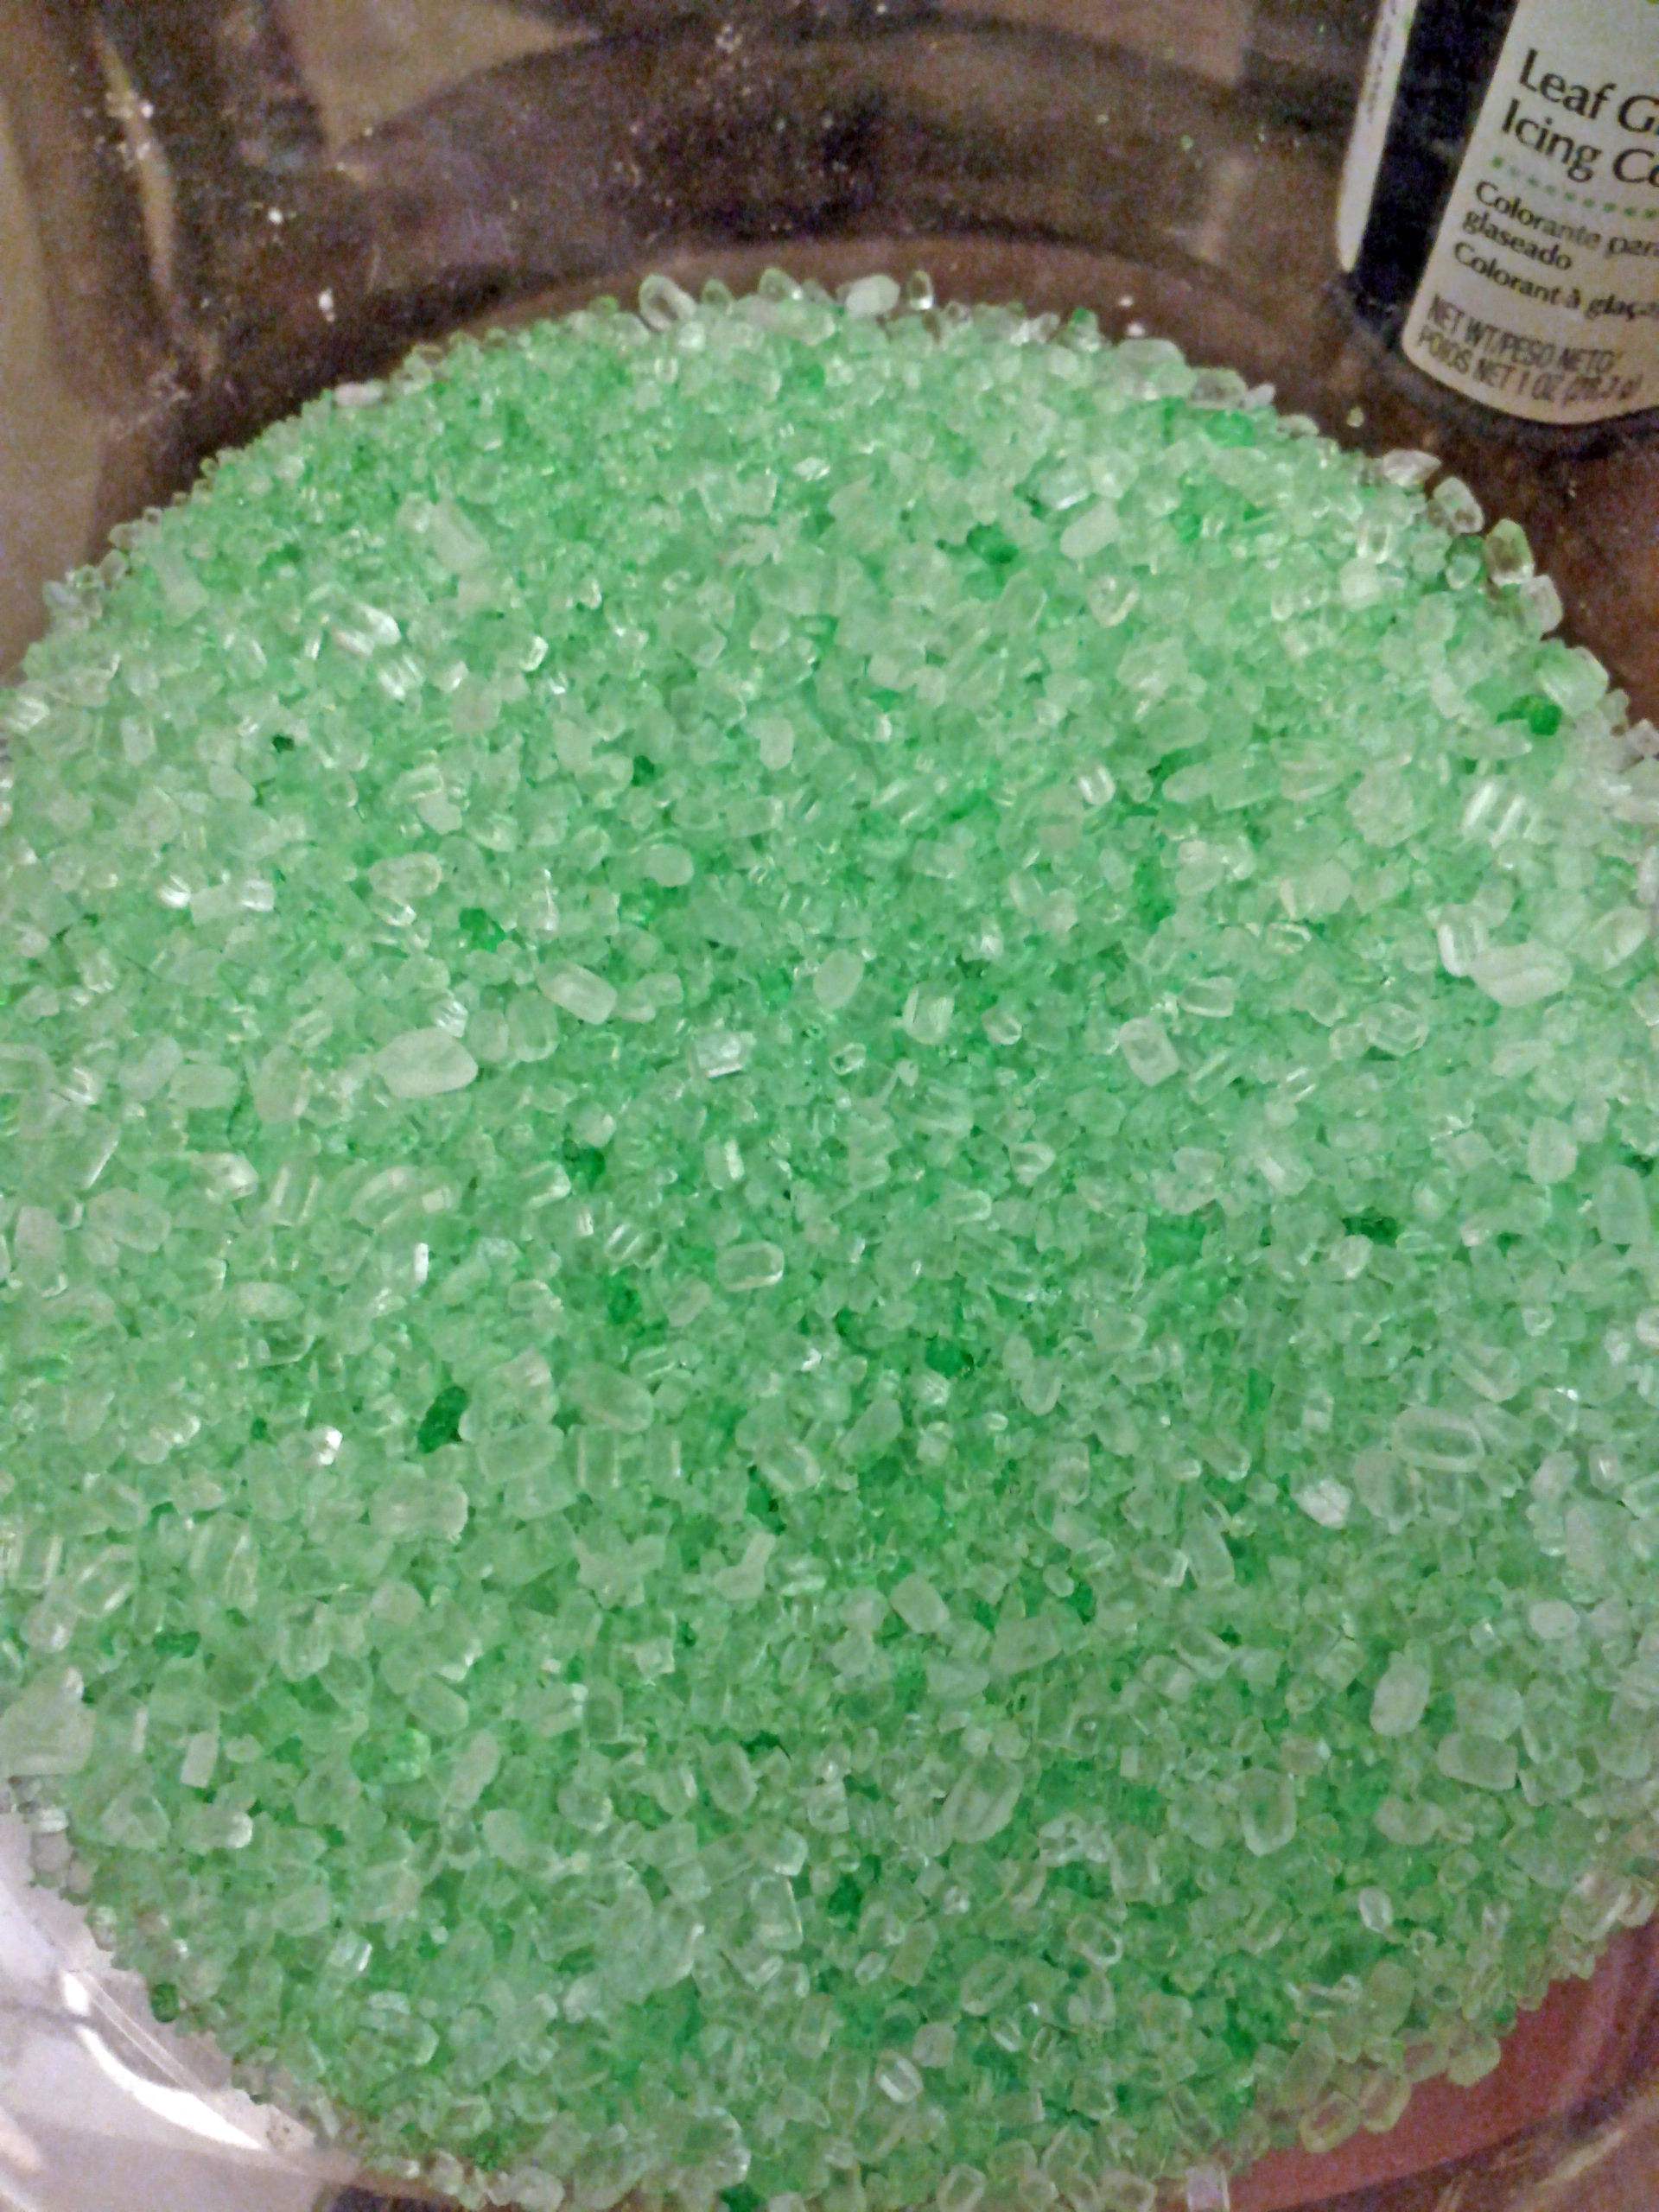
You had to be careful and only eat a little bit of it at a time or you risk insulin shock, or close to it. It's very sweet and very rich. It's also pretty much everything you expect when you think of Oreo Fudge. The boys wandered off shortly after the cookies were done to do their own things and I sat and pondered what craft to do with the amount of energy I had left. Between us, it wasn't that much. I remembered seeing a cute ornament craft where you took a plain ornament, some glue and some Epsom salts and made a crystal like snowball. It seemed like an easy one to do and well within my energy reserves to do. So I dug under the bathroom counters for our salts and trundled downstairs to play with the glue. I wanted to do more than one color, but the only food coloring I had been able to find all day was my green one. So I did one with just plain while Epsom salts and one with green salts. The white went into one bowl...
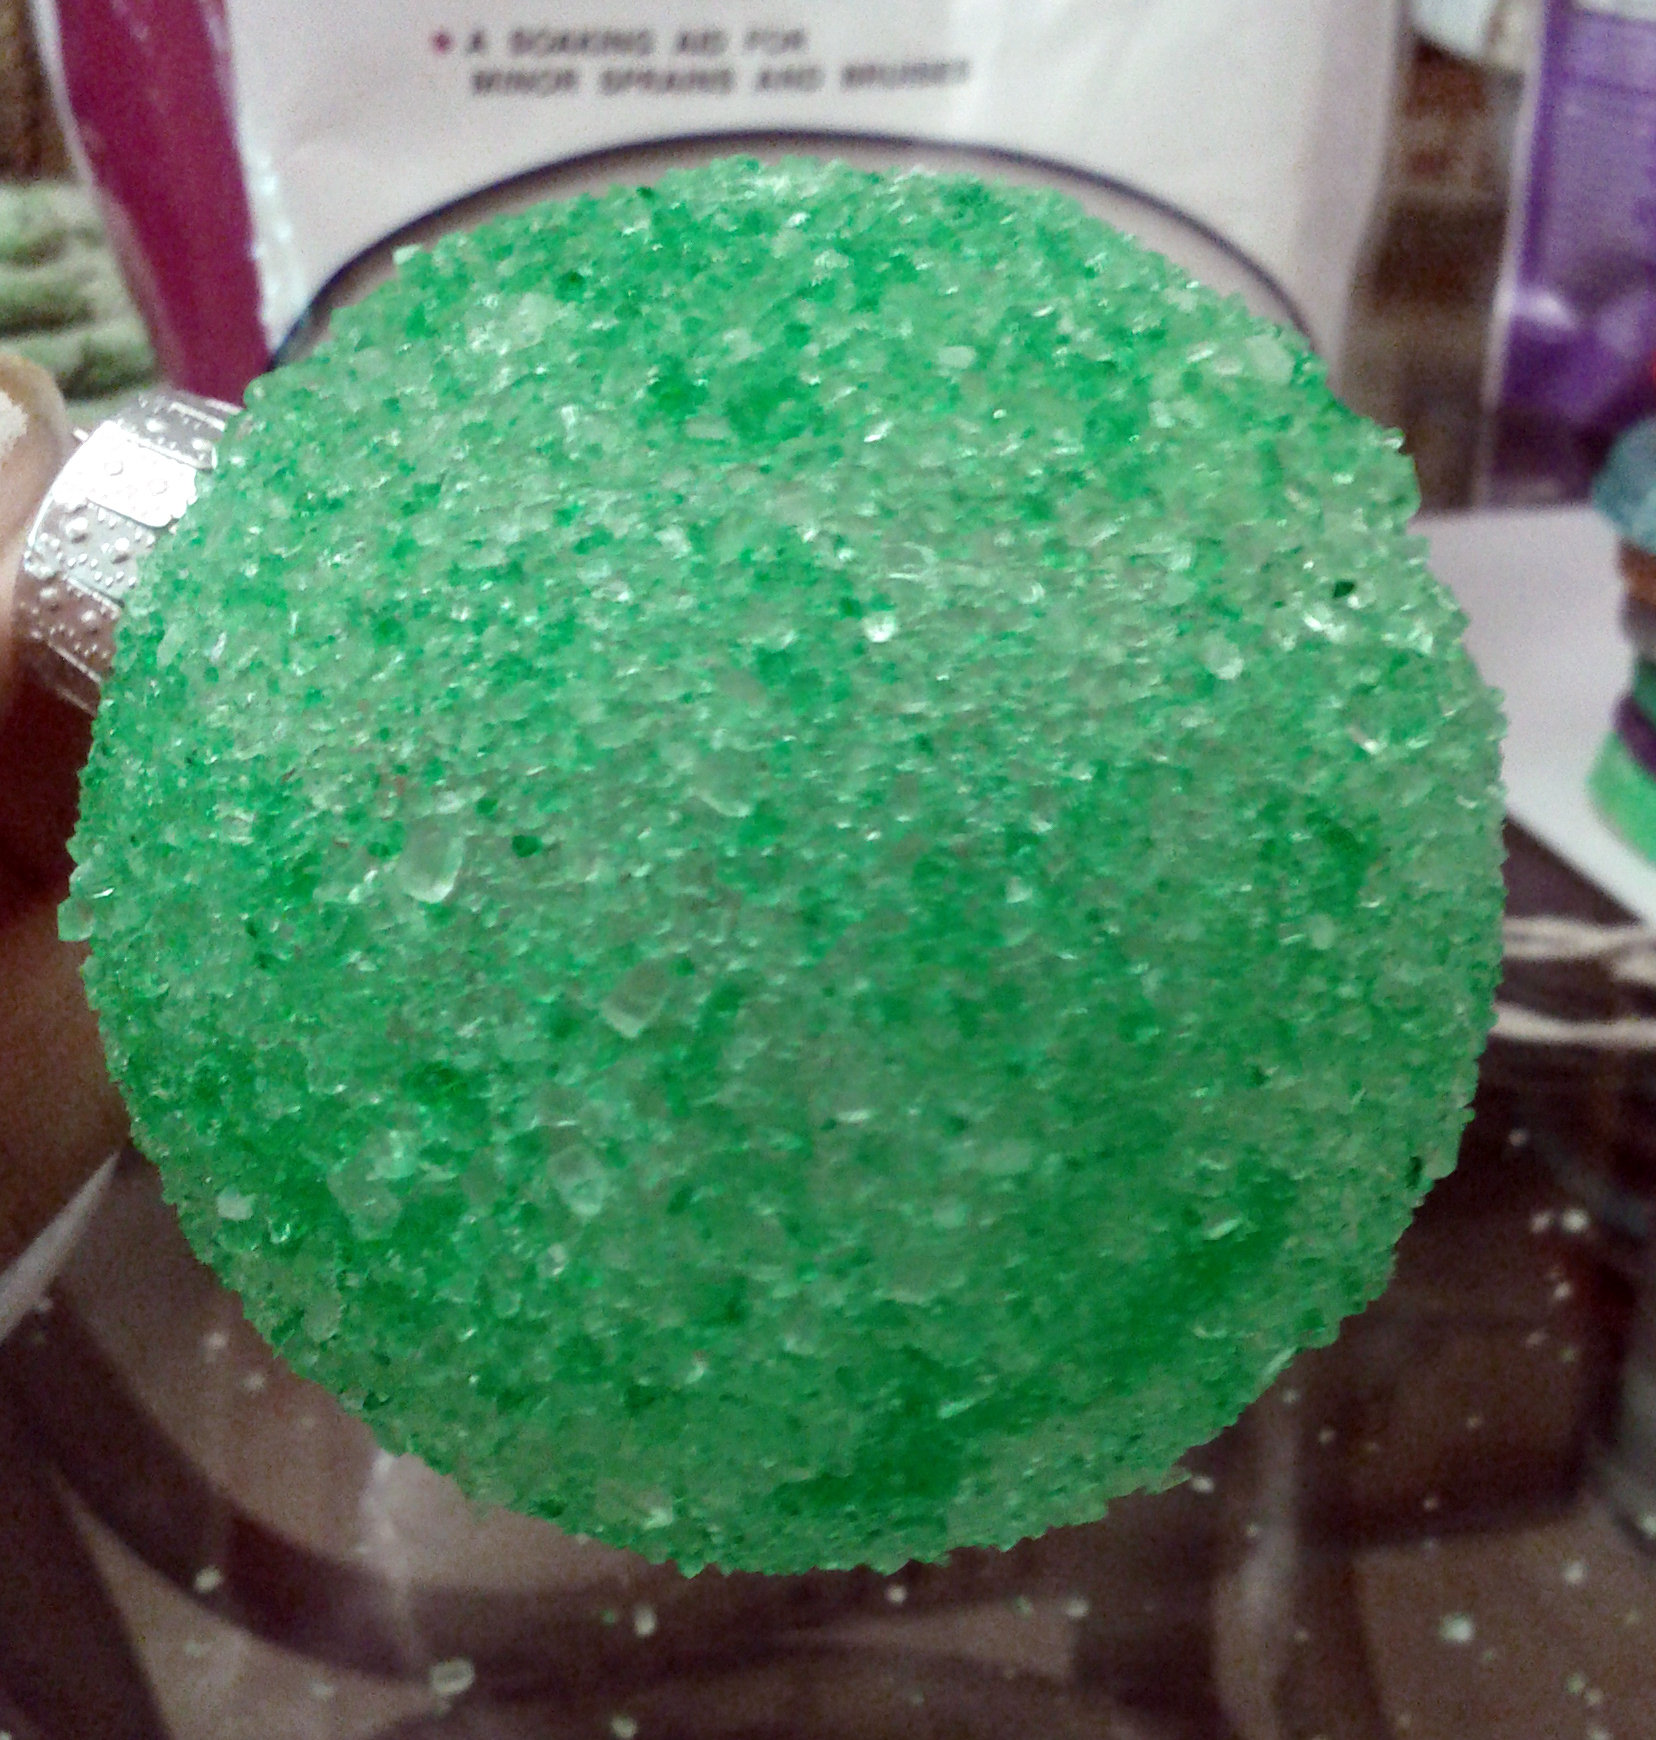
And the green into another.
The glue was a bit tricky. For the white ornament I tried to just glue the whole thing and then use a spoon to pour the salt over it. The problem with that idea was that it was a lot harder to see where I had missed with the glue and much more difficult to fix those bare patches. Still the white one came out pretty well!
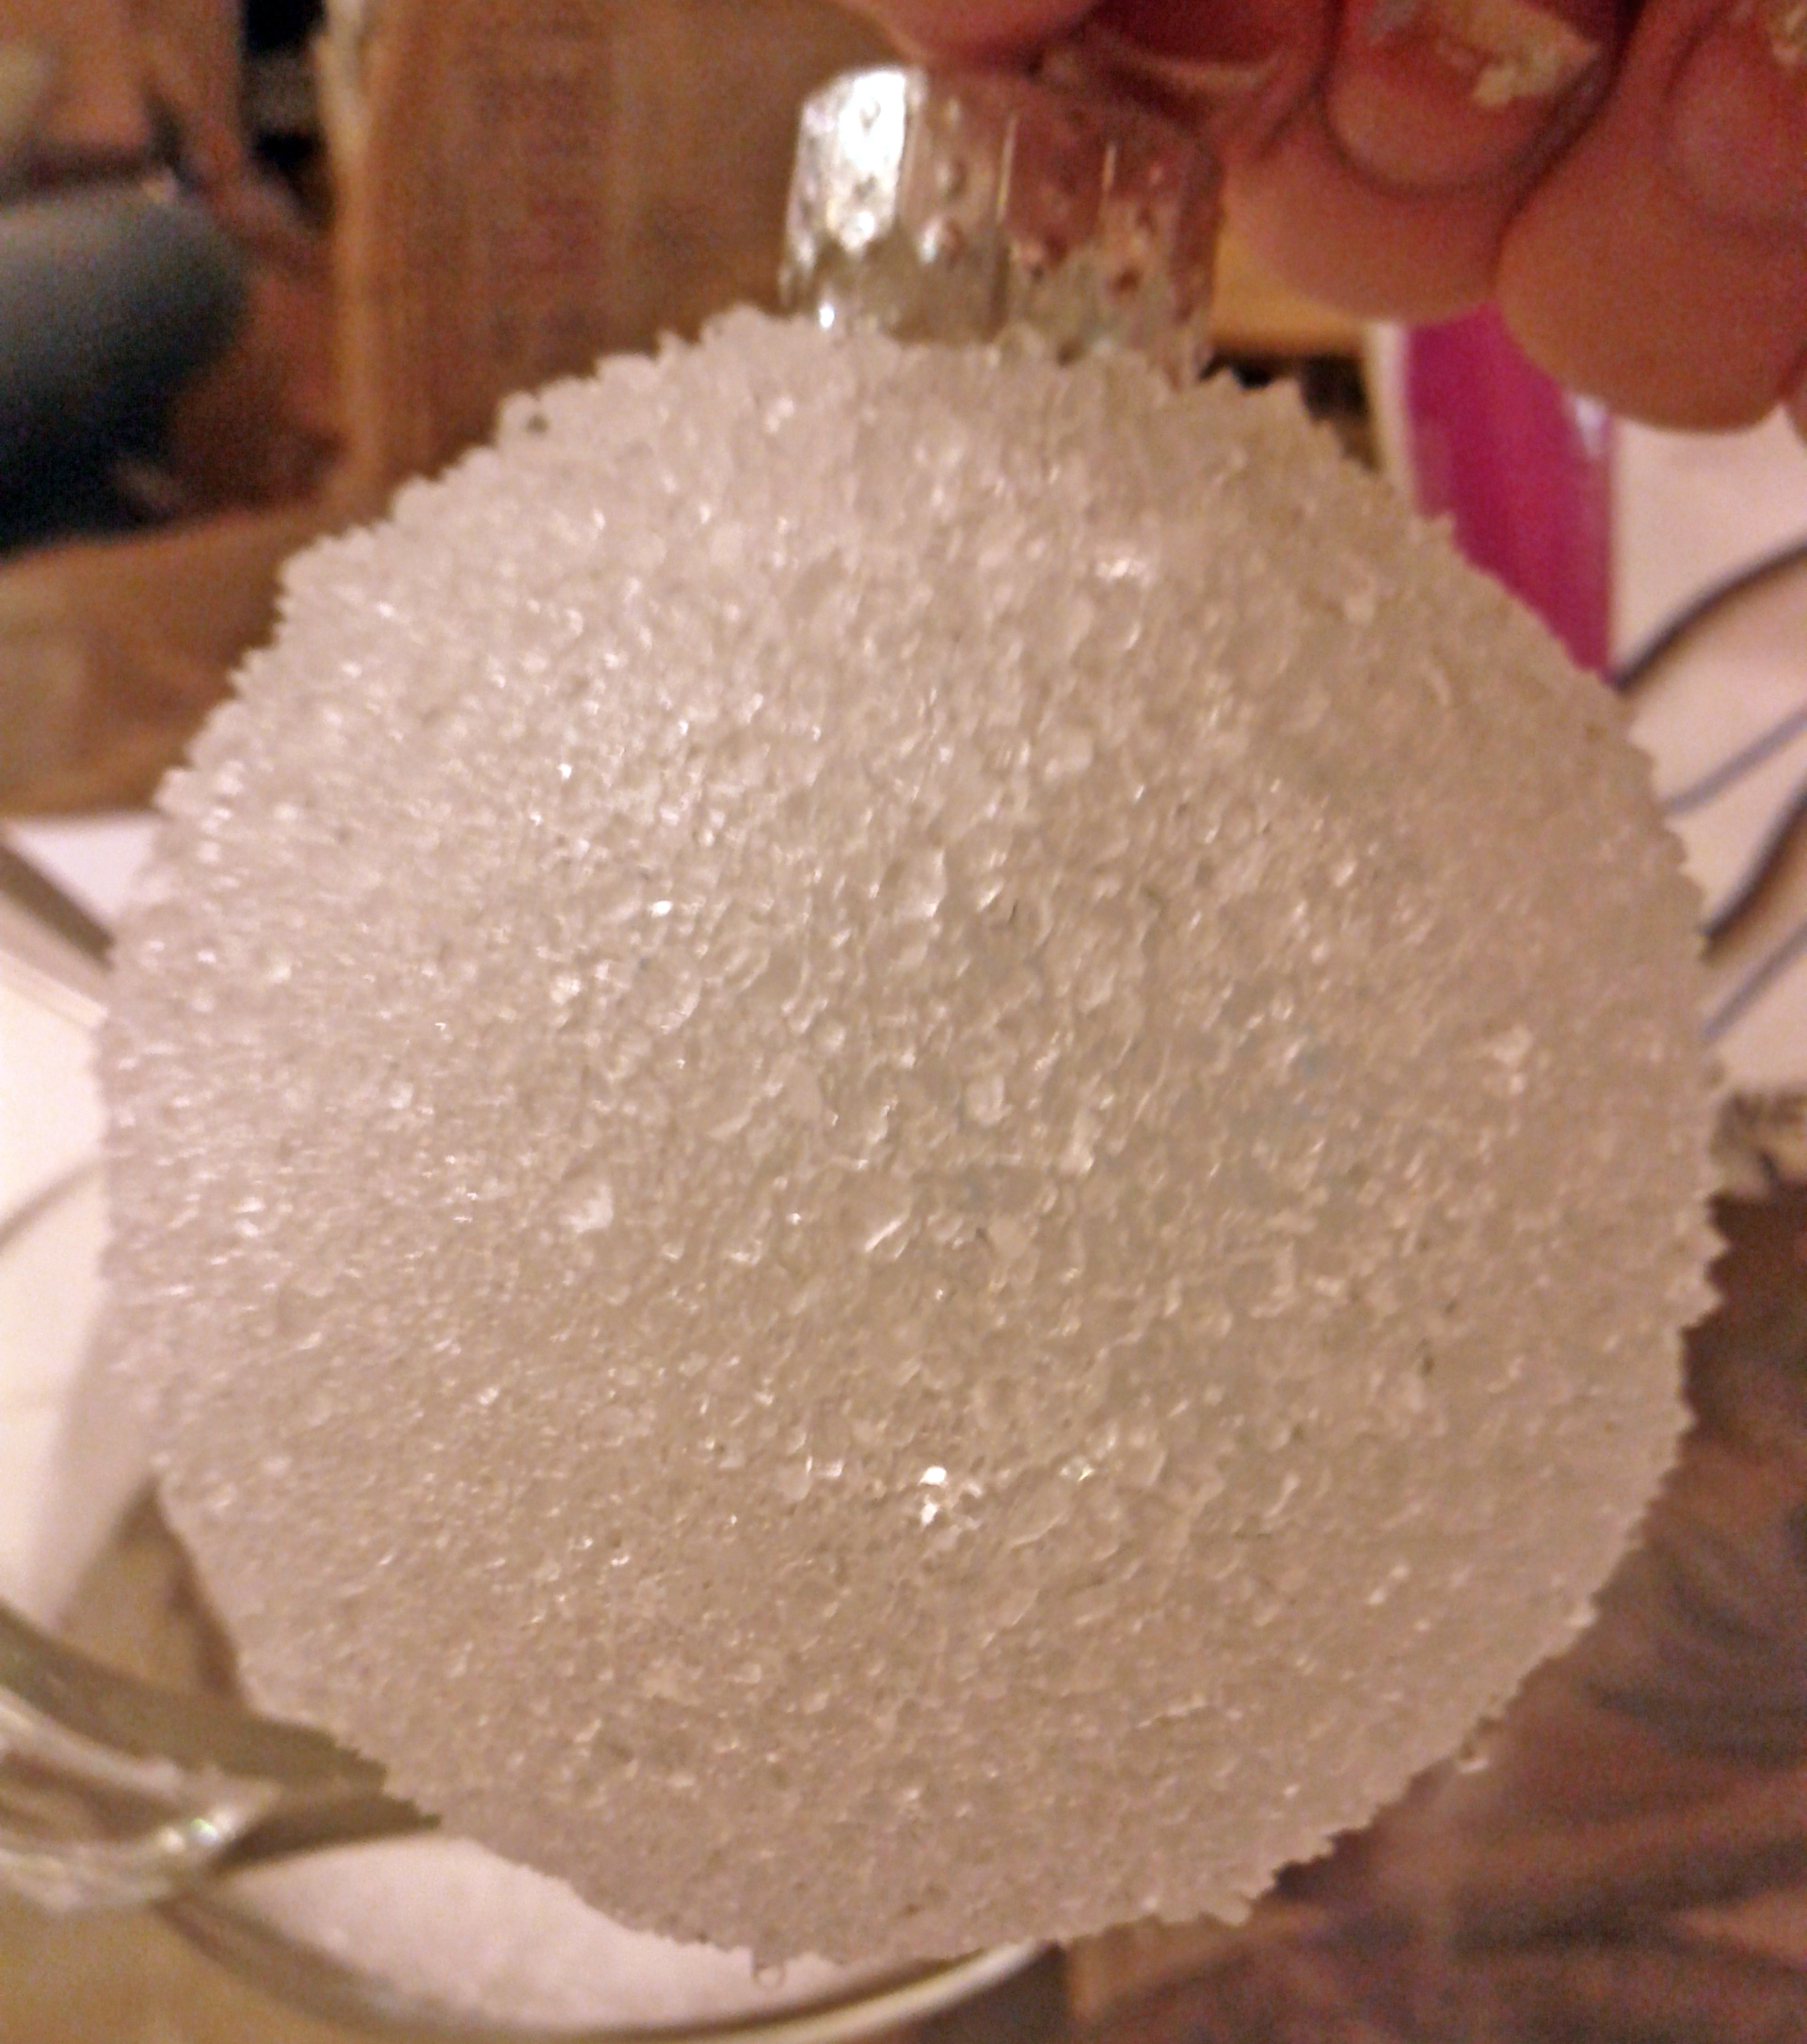
I think I may pick up a spray clear coat, or even some cheap hair spray just to make doubly sure the salt stays on the ornament. They're really cute though, and I also thought of getting some small grain of wheat bulbs to hide inside so the ornaments would glow, but we'll have to see how that goes.
I feel very accomplished today, even if I did keep it very simple and light. I did them both and that's a first. Hopefully tomorrow will be better, we're off to get a tree! Not sure it we'll get the Blue Spruce or if Shepard will prove too allergic and we get an artificial, but either way we're getting a tree and I am so excited! Forgive me if I don't get the challenge done tomorrow, ok?
Going Dark,
Snowflake
Such great ideas! And I'm so glad you enjoyed the marshmallow cloud cookies. Thanks for visiting Delightful Country Cookin'!
ReplyDelete